

So recently I’ve been spending time with my mum to lift her spirits. My grandma (her mother) died recently and it’s been tough on all of us.
I came up with a simple masking technique to make cards with her and to my surprise she really got the hang of it!
Here is one of the cards I made using this technique and a little on how I did it!
Rainbows all the way!

Step 1
Make a mask by die cutting printer paper and using repositionable spray adhesive on the back of it, then stick it to the card you want to ink.
I used a piece of Bristol Smooth Cardstock that I die cut with the largest Lawn Fawn Outside In Stitched Rectangle Die.

Step 2
Ink lightly through the mask using Distress Ink and a Mini Blending Tool.
Step 3
Put a stencil over it, stick it in place and ink heavily using the same colours over themselves for a big contrast and bright colours.

Step 4
Remove the mask and gasp in wonder at the clean design that only moments ago looked like a hot mess!
If you’re careful you can use the masks a couple of times. They do curl when removed but if the adhesive is good quality they will stick down completely flat again on the next use.

Step 5
Stamp the sentiment in black ink to make the bright colours pop. Archival or pigment ink works well.
Using a stamping tool makes this even easier.

I chose to stack a bunch of sentiments for a fun look. I hadn’t tried this before and I really like the look (even though I didn’t get it completely lined up).
I think it works because the colours are so bright that they aren’t washed out by so much black! In fact they make the colours even more vibrant! 😀

Step 6
Add any embellishments you want.
In this case I used twine for the string of my balloon using some Matte Multi Medium and trimmed off the excess once it had dried.

Step 7
Stick fun foam to the reverse and then stick the panel onto a card base.
I was surprised by how much value was added to this simple card by using a little dimension!
Step 8 (optional)
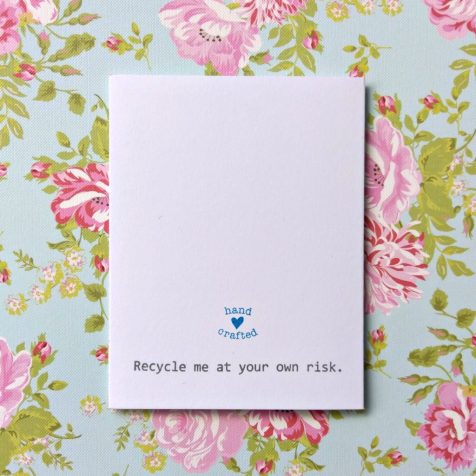
Stamp some fun messages on the back of your cards!
To really finish off a card I like to stamp on the back and (if I have the time) the envelope too!
Lawn Fawn Ink is great for this and they have so many colours to choose from!

I went on to make a whole bunch of these with my mum as they are so quick and easy to make!
I think this is the first time that my mum has actually asked to do crafting with me afterwards!!
I’m so happy to have finally found a crafting activity that my mum not only enjoys but can do with relative ease without much creative experience!!!
This activity is a winner!!!
Supplies:
I use affiliate links when available which means if you make a purchase I get a small commission at no extra cost to you. Thank you for your support!
- Birch Press Design Party Balloon Die Set – UK USA
- Chunky Monkey Crafts Snarky Sentiments Stamp Set
- Crafter’s Companion Stick & Spray Temporary Repositional Adhesive
- Hero Arts Everyday Sayings Stamp Set
- Hero Arts Friends Stamp Set
- Lawn Fawn Outside In Stitched Rectangle Stackables Die Set
- Lawn Fawndamentals Mini Ink Cubes in Sunflower, Carrot, Mermaid, Hippo, Plastic Flamingo, Merman, Freshly Cut Grass, Manatee, Lobster, Peacock, Sugarplum, Walnut, Wild Rose, Celery Stick, Fresh Lavender, Doe,
- My Favourite Things Cloud Stencil- UK, US
- Printer Paper
- Ranger Multi Medium in Matte
- Simon Says Stamp Falling Snow Stencil
- Simon Says Stamp Waves Stencil
- Strathmore Bristol Smooth Paper Pad 300 Series 9″ x 12″
- Tim Holtz Distress Inks in Picked Raspberry, Carved Pumpkin, Mustard Seed, Twisted Citron, Mermaid Lagoon & Wilted Violet
- Tonic Studios Stamp Platform by Tim Holtz
- Tim Holtz Sizzix Vagabond 2
- Twine in Metallic Gold & White Cotton 100m
